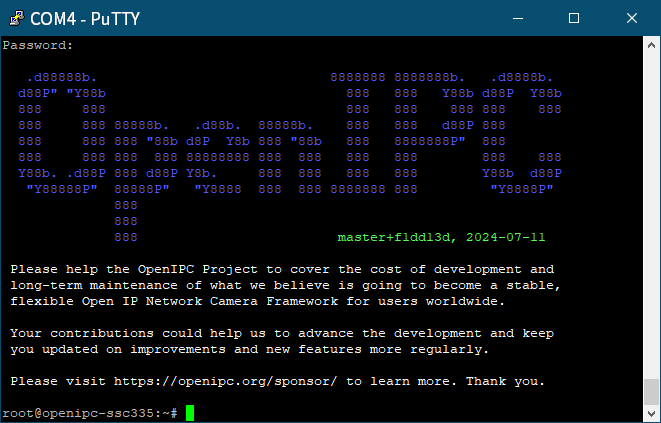
Flash OpenIPC firmware onto SigmaStar SSC335 SoC and Sony IMX307 IPC module. Requirements IPC module USB to TTL cable Windows laptop or computer Running a TFTP server on your Windows computer Results IPC module specifications Flash:GD25Q64CSIG: https://www.digikey.cn/zh/products/detail/gigadevice-semiconductor-hk-limited/GD25Q64CSIG/9484942 Soc:SigmaStar SSC335https://linux-chenxing.org/infinity6/ssc335_pb_v03.pdf Sensor: 1/2.8" 2MP CMOS Sony IMX307 LAN Windows computer TFTP SERVER directory structure The "bin" directory serves as the current directory for the TFTP server, used to store firmware files. Disable the firewall on the Windows computer and run tftp64.exe. Step 1: Welding the UART interface. Here is the TTL connection. Step 2: Connect the IPC module to your Windows computer using a USB to TTL cable. Connect the IPC module to your computer using a USB to TTL cable. Open PuTTY. Configure the serial port information. Restart the IPC module. In the PuTTY window, continuously press the "Enter" key on the keyboard. Step 3: Enter the following command in the PuTTY window # Enter commands line by line! Do not copy and paste multiple lines at once! setenv ipaddr 192.168.8.200; setenv serverip 192.168.8.250 mw.b 0x21000000 0xff 0x800000 tftpboot 0x21000000 openipc-ssc335-lite-8mb.bin #如果上面的命令执行不成功,请执行下面的。sf lock 0; 会提示失败, 不过没关系,继续下面的 1. if there is no tftpboot but tftp then run this instead tftp 0x21000000 openipc-ssc335-lite-8mb.bin sf probe 0; sf lock 0; sf erase 0x0 0x800000; sf write 0x21000000 0x0 0x800000 reset Note If you cannot input in serial port mode, please close the serial port first. Before re-entering, turn off flow control.

July 18, 2024 0comments 66hotness 0likes Read all

这篇笔记主要记录了作为一个新手如何
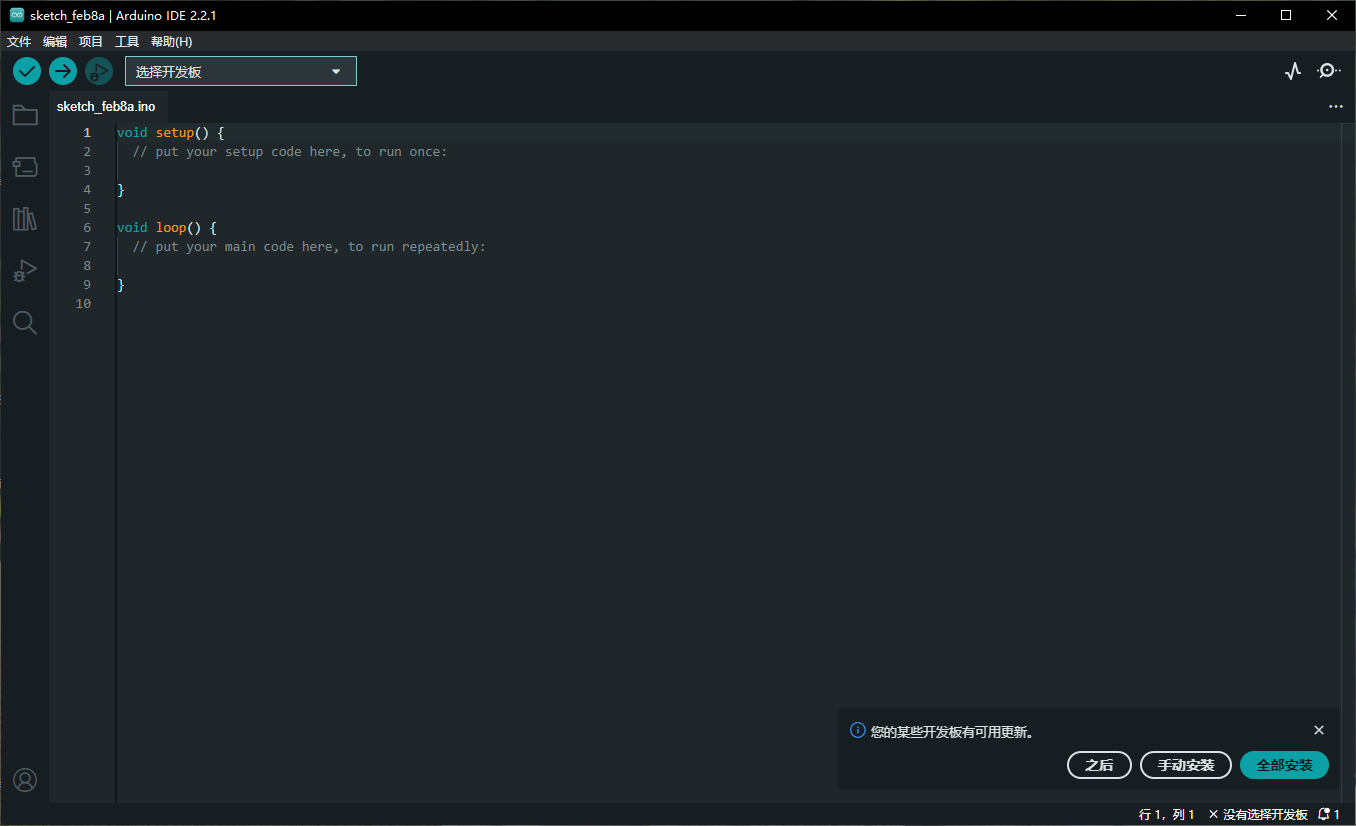
使用Arduino IDE对ESP32S3开发板进行开发,以及ESP32连接到电脑,在Arduino IDE 中添加附加开发板, 通过示例代码点亮ESP32中的LED灯 .以下操作都是在Windows系统环境中进行. 准备工作 ESP32 S3 开发板 Arduino IDE USB To Type C Windows 操作系统电脑 可以正常访问Github的互联网环境 步骤 Arduino IDE 下载 Arduino 下载地址 https://www.arduino.cc/en/software 选择Windows操作系统下载 安装好之后如下 在IDE中添加附加开发板 点击 “文件”-“首选项”,在 “附加开发板管理器网址” 中输入以下地址 Espressif ESP32: https://raw.githubusercontent.com/espressif/arduino-esp32/gh-pages/package_esp32_index.json 如下图所示 点击 “工具”-“开发板”-“开发板管理器”,在 “开发板管理器” 中搜索 “ESP32”,选择"esp32 by Espressif Systems" 点击安装即可 如下图所示 等待安装完成之后就可以开始连接ESP32 开发板. 将ESP32开发板连接到你的电脑 驱动程序安装由于我使用的是USB A TO Type C, ESP开发板上用的是CH343p芯片,所以要提前安装驱动源地官方 驱动地址:http://vcc-gnd.com/ 将设备通过USB A TO Type C的数据线插入到电脑的USB口 切记使用正确的数据线,不是电源线,电源线里面只有2芯,无法传输数据 在设备管理器中检查开发板是否连接正常如果你可以在你电脑的设备管理器中的端口选项中看到该设备,那说明ESP32开发板已经正确的连接到你的电脑了 在Arduino IED中连接开发板并使用示例 通过Arduino IED连接开发板在Arduino IDE左上角点击"选择开发板" 在"开发板"下方搜索"esp32s3" 并且找到相对应的开发板型号, 在右侧选择端口,点击确定即可.如下图所示. 连接完成如下图所示 通过Arduino IDE中的实例点亮开发板的LED 操作步骤如下图所示 接下来IDE 会新增一个窗口,展示BlinkRGB的项目如下图在确认开发板是正常连接的情况下,可以点击左上角的上传按钮将代码上传到开发板. 通过以上步骤,你的ESP32 开发板中的LED 开始闪烁了哦 参考: 如何安装Arduino IDE?添加附加开发板?以 ESP32 为例 - 小栋同学https://xd.sh.cn/arduino-ide-esp32/

February 8, 2024 0comments 57hotness 0likes Read all