Notes

眼镜和眼睛的使用小贴士
眼鏡使用小貼士定期清潔眼鏡: 使用專用眼鏡清潔液或溫和的肥皂水清洗眼鏡。避免使用含酒精或強酸性物質的清潔劑。正確佩戴和摘掉眼鏡: 使用雙手握住眼鏡的雙腿,避免單手拿取框架,以防變形。遠離高溫和潮濕環境: 避免將眼鏡長時間置於高溫環境中,也不要將它們放在浴室等潮濕的地方。避免用衣物擦拭眼鏡: 使用專用
 2024-01-10
Google Map 笔记
使用Google map的链接, 当用户点击时直接导航到该地址在Google Maps上生成一个导航链接可以通过在URL中使用特定的参数来实现。以下是一个示例链接,当用户点击它时,将直接导航到指定的地址:https://www.google.com/maps/dir/?api=1&desti
2024-01-07
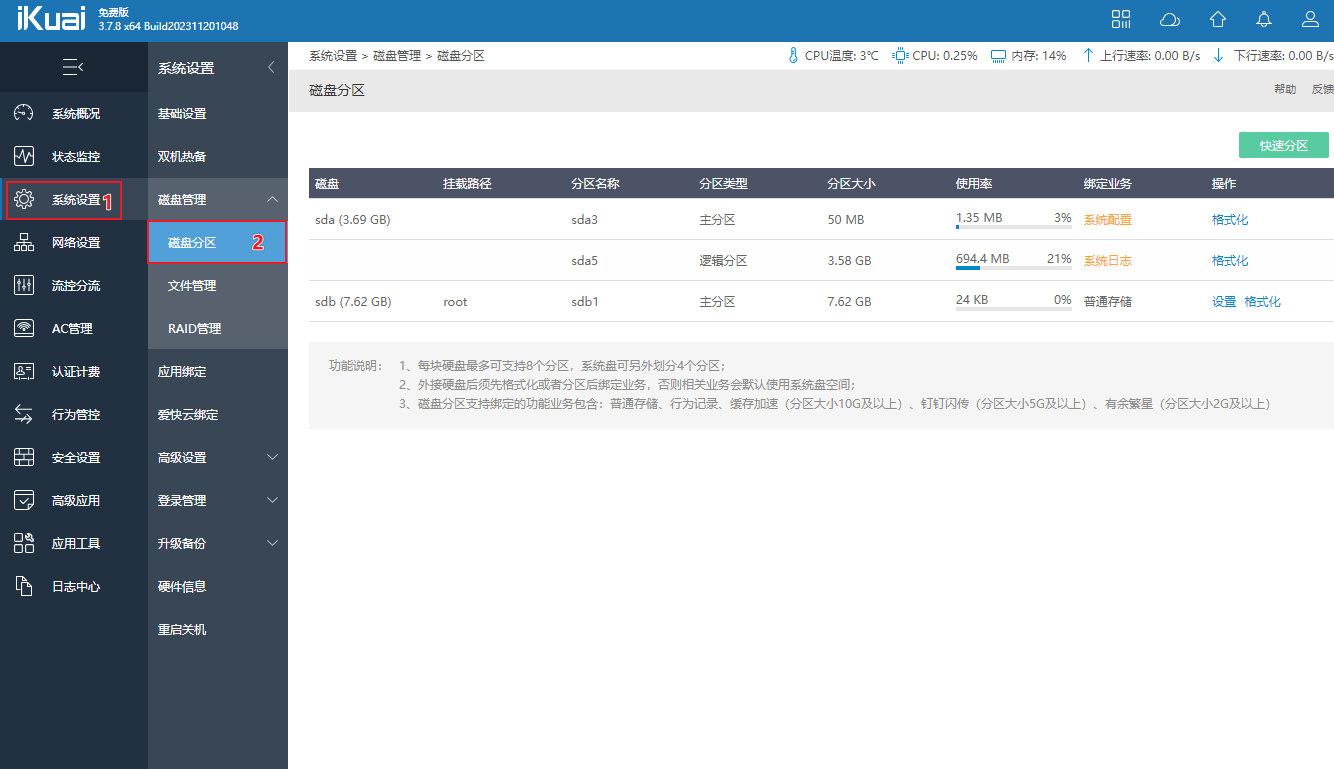
使用iKuai的Docker 安装Uptime 监控网络状况并设置通知提醒
使用iKuai的Docker 安装Uptime 监控网络状况并设置通知提醒Uptime Kuma 简介我爱开源Uptime Kuma 是一个开源项目,它的项目地址是在这里https://github.com/louislam开发者是以为香港Coder, 该项目已经有了43.4k star. 大
2023-12-29
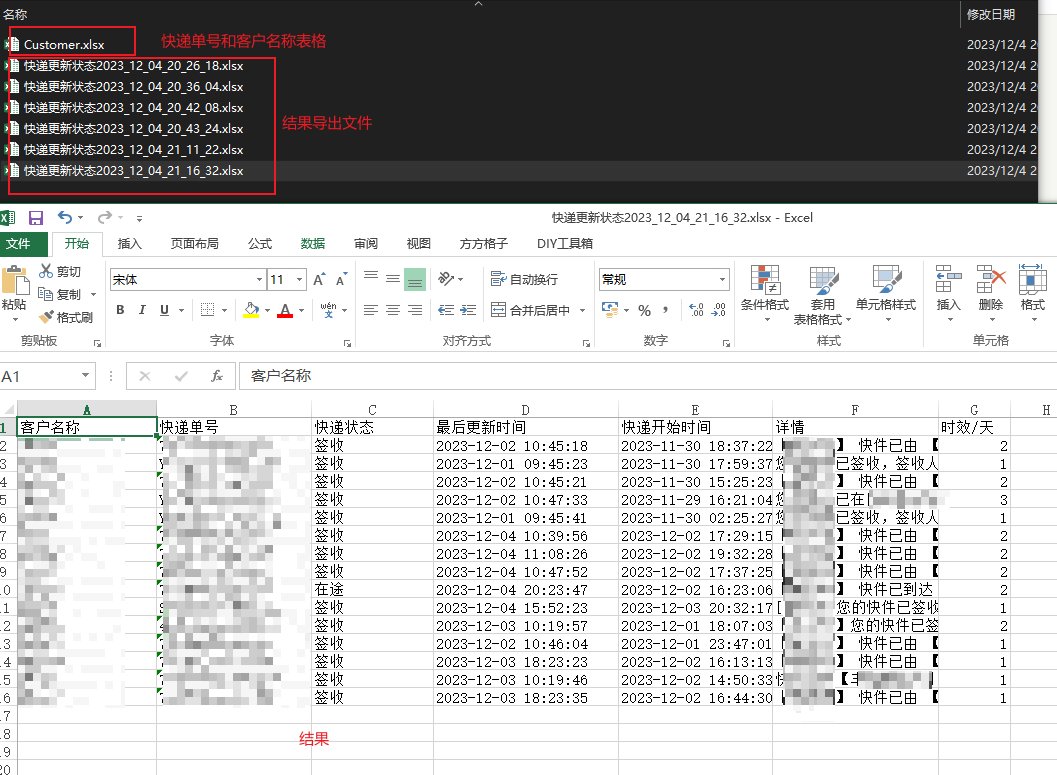
Python 批量查询快递单号,并将查询结果填入Excel中
缘由因为11月份是快递量比较大时候,会有有很多快递单需要查询快递状态;之前是因为单量少,每一个单每一个单去baidu 直接看百度查询到的结果。这两个月由于快递单特别多,于是就打算用Python 结合快递100的API 来查询快递状态代码快递100 API 实时查询状态# coding = utf-8
2023-12-08

网吧延迟启动工具以及源代码
缘由好久没给网吧维护了,最近给日本网吧维护的时候, 由于要在工作站开机启动之后执行一些初始化程序,要用到一个延迟启动程序。(程序是前辈写的,帮了很多忙。鞠躬)但是在日本语系统下无法正常运行报错如下:如果要解决该错误,需要在区域选项中,将程式区域改为中国即可。如此一来会产生一个新的问题, 某些程式会用
2023-12-06
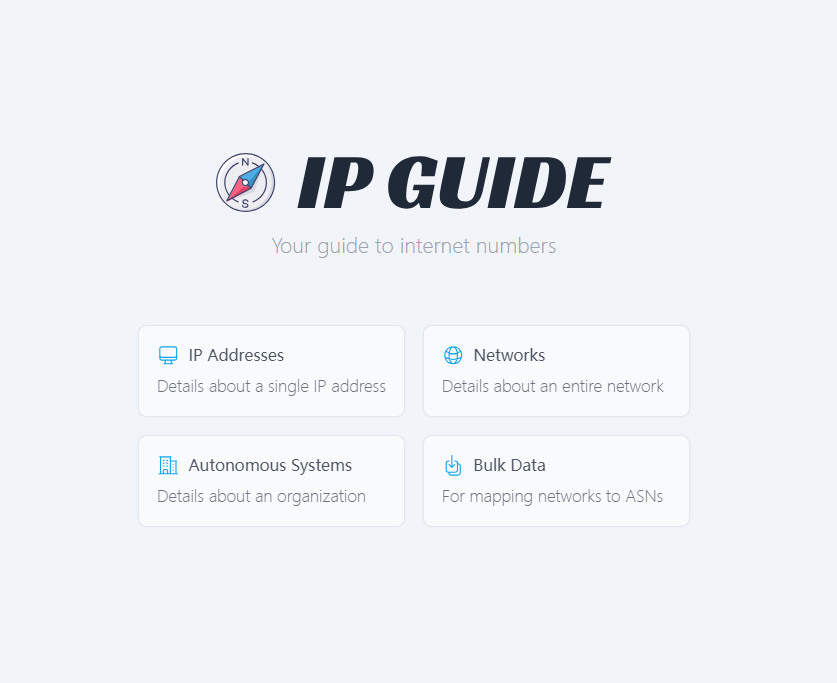
Coding Practice. Use an IP Guide retrieve your ip information
IntuductionWhen we need to check some IP address information , do we have to open the browser, then type the googl domain and copy-paste the IP addres
2023-12-02
小米盒子3 ADB 调试笔记 – MZD-16-AA debuging note
## 小米盒子3 ADB 调试笔记 2025.06.19 更新 ### 缘由 - 广告太多 - 偶尔卡住不动(hung up) - 盒子内存只有4GB, RAM 只有800M 根据以上一些缘由,所以想通过ADB调试来删减一些无用的资源,扩充一些资源来装Kodi和Smart tub
2023-11-27
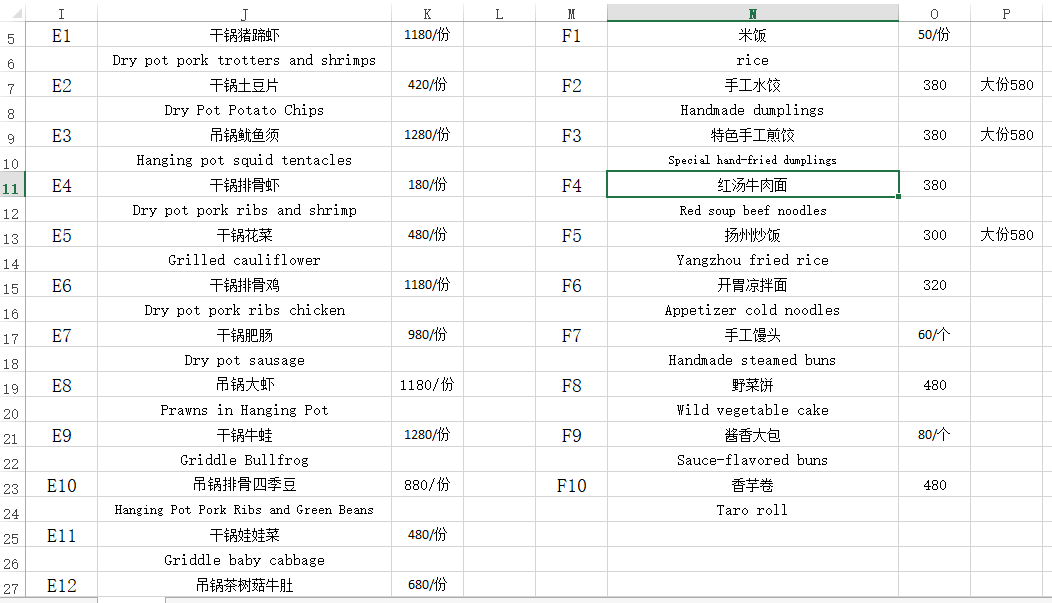
Excel日常小技巧
当遇到这种菜单需要组合数据,然后导入到收银软件数据库的时候。 我们可以 使用"&"号来组合数据原表格数据如下使用”&“符号组合数据如下 在N5单元格中输入以下内容,及可将I7,J7,J8的数据组合在N5.=I7&J7&J8使用“分列”功能拆分数据根据ChatGPT生成翻译之后直接粘贴
2023-10-20
Using Python with the OpenWeather.org AP
Using Python with the OpenWeathermap.org APIIn these notes, we will explore how to utilize Python with a free weather API (Application Programming Int
2023-09-27
修改Discuz 中 UC center的创始人密码
. 进入discuz的安装目录,找到 ./uc_server/data/config.inc.php 文件可以通过FTP连接服务器,或者直接登录服务器操作使用下列两行替换 config.inc.php 文件中 UC_FOUNDERPW 和 UC_FOUNDERSALT 两行配置这两行代表的是加密后的
2023-09-18