Notes

IPv4 子网查询-转载自V2EX
子网 Subnets CIDR 子网掩码 地址数 通配符 /32 255.255.255.255 1 0.0.0.0 /31 255.255.255.254 2 0.0.0.1 /30 255.255.255.252 4 0.0.0.3 /29 255.255.255.248 8
 2021-07-21
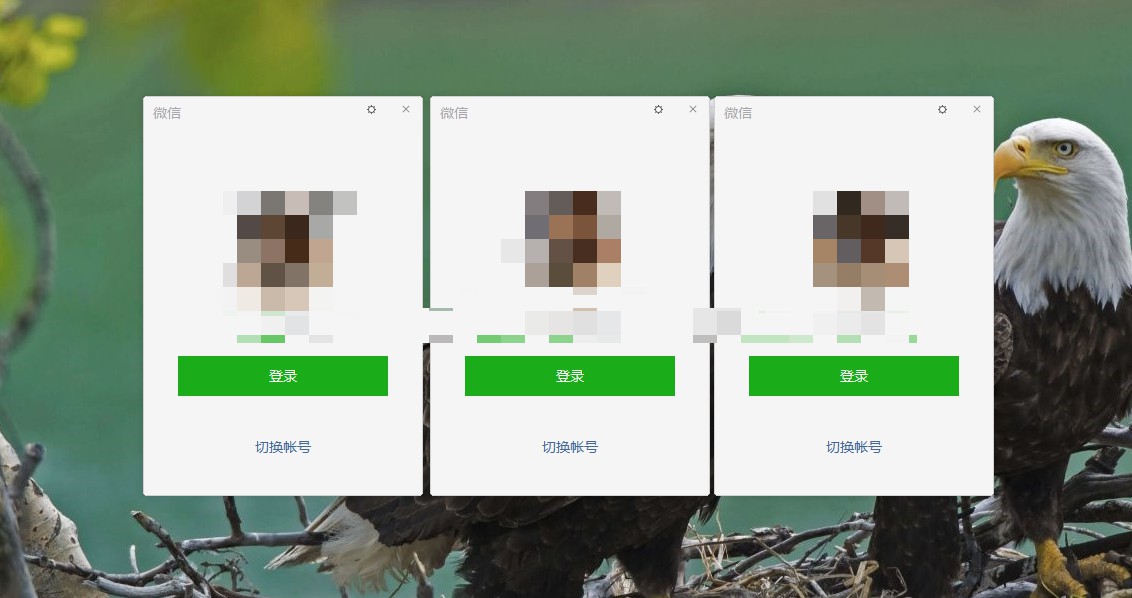
微信在Windwos10多开无需下载任何软件
仅需2步即可完成微信多开,无需下载任何程序在windows系统桌面空白处不点击任何程序操作步骤按住Enter键不放鼠标左键点击微信图标3下即可这样即可完成多开,鼠标点击3下可以多开3个, 多点几次就可以多开多个
2021-07-21
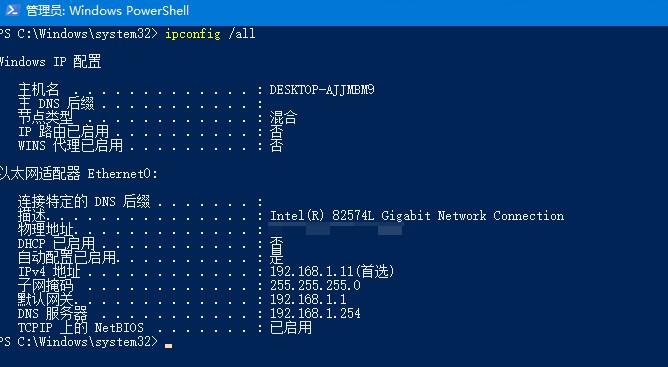
网络故障基本判断
本篇博文非专业科普,仅限于让非专业人士理解基本的网络构造和排障,文中会有很多非专业词汇以及非标准表述,如果你对网络有更深的兴趣和探究请查阅其它文档和书籍我们现在电脑基本的上网路径运营商-大楼机房网络设备-路由器-电脑电脑会有一个由家里路由器分配的IP地址,路由器有大楼机房网络设备分配的IP地址,大楼
2021-07-20
RA2 on windows 10 unplayable
Ra2.iniFinally worked for me, here's what I did:http://bitpatch.com/ddwrapper.html - Just copy aqrit.cfg and ddraw.dll into the game folder. My settin
2021-06-26

PS5国行通过备份上港服
准备工作:1、旧的PS4(马来西亚账号,非大陆国行版)2、PS5 (无账号新机,大陆国行版)3、同一网络下的wifi或者一根网线把PS4和PS5连在一起。方法:第一步:在PS5或者PS大陆官网注册PS账号。并且实名认证。第二步:在PS4登陆马来西亚账号。第三步:在PS4上登陆第一步注册的大陆账号(此
2021-06-15
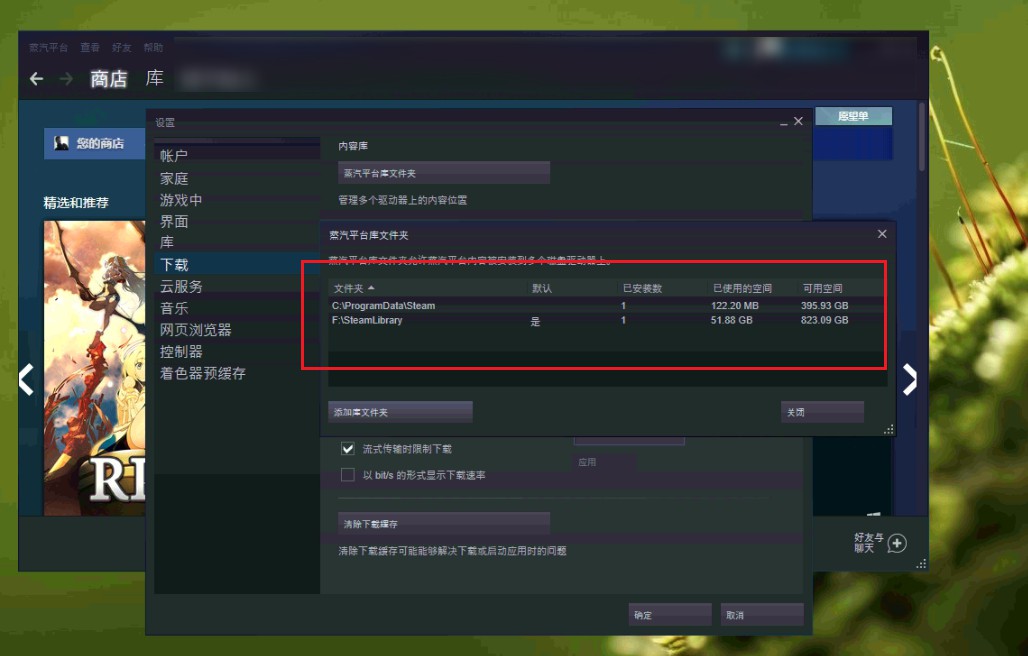
所选硬盘已存在一个Steam文件夹的解决办法
原有目录无法在同目录再新增库文件夹找到Steam 程序根目录此文件D:\Steam\steamapps\libraryfolders.vdf在后面新增一个你需要添加的目录如下"LibraryFolders" { "TimeNextStatsReport"
2021-06-10
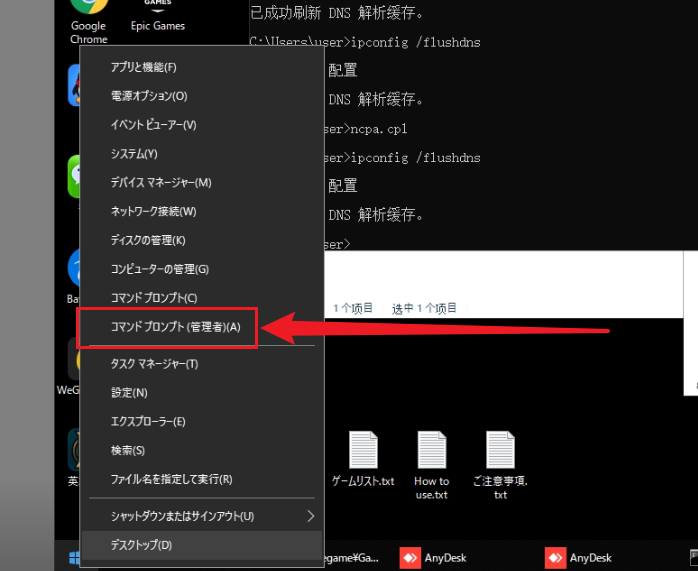
Windows10系统设置所有程序默认以管理员身份运行
今天在给客户处理问题的时候遇到一个新的问题,某个程序没有以管理员运行的话就不会正常工作,所以想设置所有程序默认管理员运行,(注意:所有程序默认以管理员运行之后会有风险,不建议普通用户这样操作)于是Google搜索得到答案之后,操作验证了一遍。证明它是有效的。现在将它作为笔记记录下来,以免后面忘记。图
2021-06-08
宝塔面板关闭弹窗强制绑定宝塔账号
两条命令关闭弹窗强制绑定账号sed -i "s|if (bind_user == 'True') {|if (bind_user == 'REMOVED') {|g" /www/server/panel/BTPanel/static/js/index.jsrm -f /www/s
2021-06-08
Globe Broadband Super administrator password
Globe Broadband Super administrator passwordBy default, Globe doesn't even let you change your router's wifi password and doesn't give you full access
2021-06-06
ESXi7 更改VMFSL 空间
在吃灰的NUC中使用一块240G SSD 安装了ESXi7 之后 可用空间只有95G,在系统存储中看到VMFSL 空间占了100多G,对于要开多个虚拟机的我,这点空间是不够的;经过Google搜索查到,如果更改VMFSL空间,需要在安装的时候操作。所以一下操作是在ESXi7安装之前的操作步骤。解决办
2021-06-04